A material's hardness can be used to gain information on various other properties, and the history of using hardness measurement to identify, analyze, or improve materials goes back over a hundred years. The principle has remained more or less the same – at least when it comes to metals. With a defined amount of force, a diamond or other testing object is pressed against the material to be measured. Measuring the penetration depth or the size of the impression then allows conclusions to be drawn about the hardness, which in turn can be used to derive other valuable insights about the material.
Since quality control plays an increasingly important role in industry, hardness testing today is a standard step in many labs, production facilities, and incoming and outgoing goods stations. The machines used for the task need to be smart, precise, and fast. In the age of Industry 4.0, networking capability and secure digital data archiving are also key.
The Austrian company Qness has tackled these challenges. Since 2010, Qness has been developing and producing hardness testing devices for a wide variety of applications in the automotive and aerospace industries, in medical technology, and in research. In the words of Robert Höll, General & Technical Manager, the relatively young company with 40 employees has “struck a nerve” with its products.

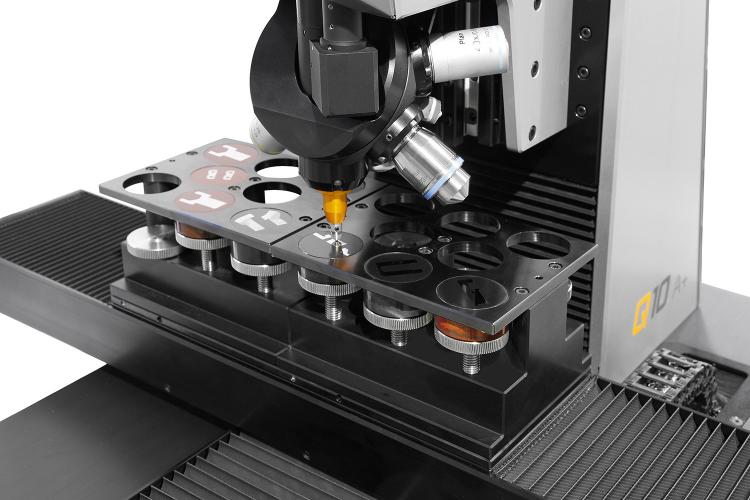
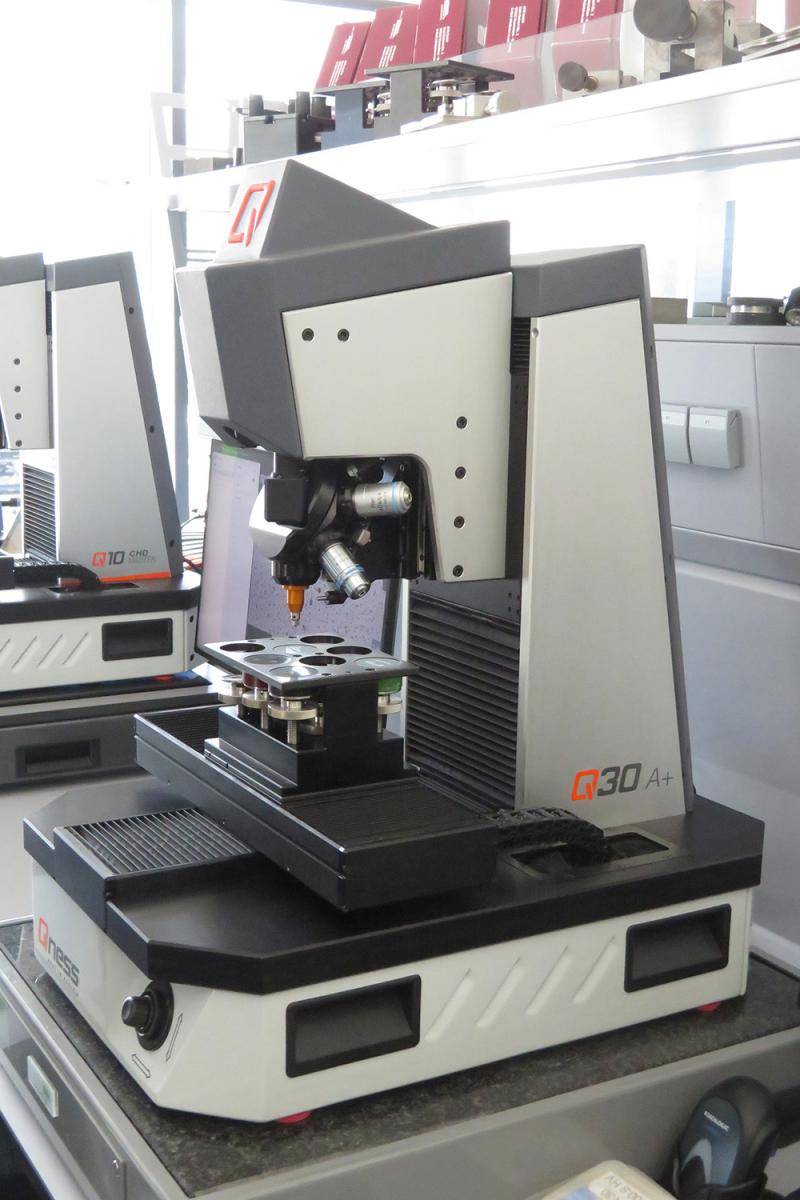
The latest generation of the company's micro testing devices are used mainly in the laboratory and are able to perform hardness testing automatically. They are operated via a PC-based software, have an automatic tool changer, and support the usual testing methods (Vickers, Knoop, and Brinell). “We are also the first in the industry to integrate 3D representations into the user interface and enable the import of 3D data into the software,” says Robert Höll. This achieves a very high level of user friendliness.
The devices are able to perform a long series of tests automatically. Test sequences can be stored in the form of programs and reused as templates. The measuring results are evaluated to generate and document statistics and hardness curves. The results can be digitally archived and are available anytime and anywhere. This is an important factor in the digital age of networking.
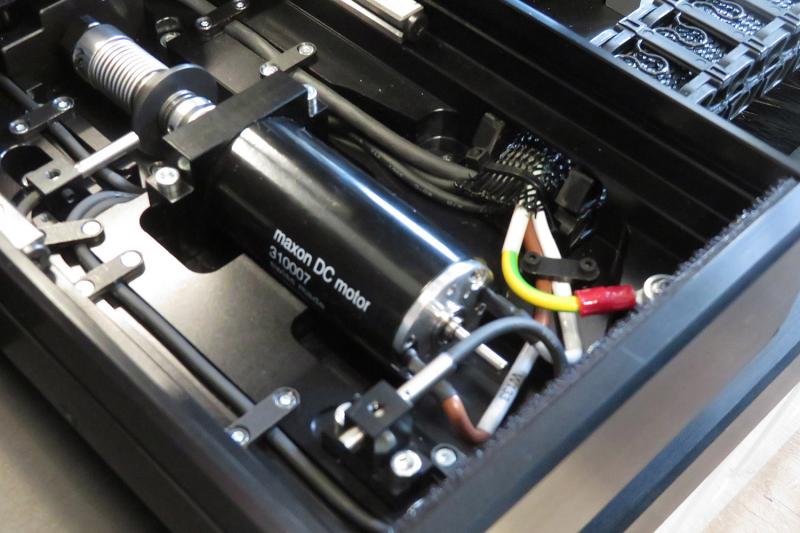
However, all this is useful only if the measurements are accurate. High accuracy is therefore another important goal of Qness. “Our accuracy is now significantly better than that required by the standard,” says Robert Höll. To achieve this, the company uses only high-quality products – such as DC motors from maxon. Up to six of them are used per device, for positioning workpieces and tool turrets, as well as for tool-changing systems.
Qness relied on maxon from the start. The company particularly appreciates the online configurator, which allows customers to build specific drive systems. The requirements are clear: long service life, low noise, and short lead times. “The drives need to be very precise. After all, they need to move the slide with micrometer accuracy. We can't afford compromises.”
As a next step, Qness wants to further expand its international sales and continue working on new innovations in the field of analytic devices. Robert Höll says: “As a developer, there is nothing more exciting than designing a machine concept, getting the first prototype to run, and to test whether it fulfills the expectations.”


